When PEMAVOR began its journey, our presentations lacked polish and consistency was a problem. Preparing new ones in alignment with our corporate identity took hours. We needed a way to professionalize and stand out.
That’s where Visme came in. With it, our presentations transformed and workflows simplified.
No more disjointed designs. Now, we captivate our audience, leaving a lasting impression. This is how our designs professionalized with this practical tool. Otherwise, navigating the endless online environment directionless and inconsistently will slow a company’s growth.
Already started to think about your brand kit? But not sure how to create an effective one? Let’s discover more.

What is a brand kit?
A Branding kit is a collection of a company’s key brand elements—colors, fonts, and logos. These all essentials express your brand’s persona. Shortly, a brand kit allows distinguishing from your competitors and keeping your brand in mind of your visitors, potential customers.
What is corporate identity?
Corporate identity is a company’s overall image, including its name, logo, branding, and values, as perceived by customers, employees, investors, and the public. It differentiates the company, establishes market position, and builds stakeholder trust. A strong identity requires careful planning and consistent messaging across all communications.

Visme for Continuous Brand Growth
Brand growth isn’t a one-time achievement; it’s a continuous journey. On the way to growth, you use various instruments and strategies.
Visme, one of your go-to guides, helps you to create a consistent and a corporate identity design even if you’re not a designer. Through its Brand Wizard, whether for presentations, infographics, reports, charts, social media images, and more, you can uniform your designs and projects facilitating on-brand content creation. Besides, on a centralized interface, it drives brand growth by providing consistent, fresh content.
Without a brand kit, companies’ visual content dilutes brand identity.
How the Brand Area makes a design process easier
- Centralized Brand Management allows users to access and manage all the brand assets from one place.
- Consistent Branding Across Projects: Users can make sure all their design projects follow the brand guidelines. This consistency builds brand recognition and professionalism across different materials.
- Efficient Asset Management: Storage on the platform eliminates the need for multiple files and folders.
- Easy Design Process: New project designs are superfast with predefined templates and applied brand identity.
What about data sync? It also offers several benefits:
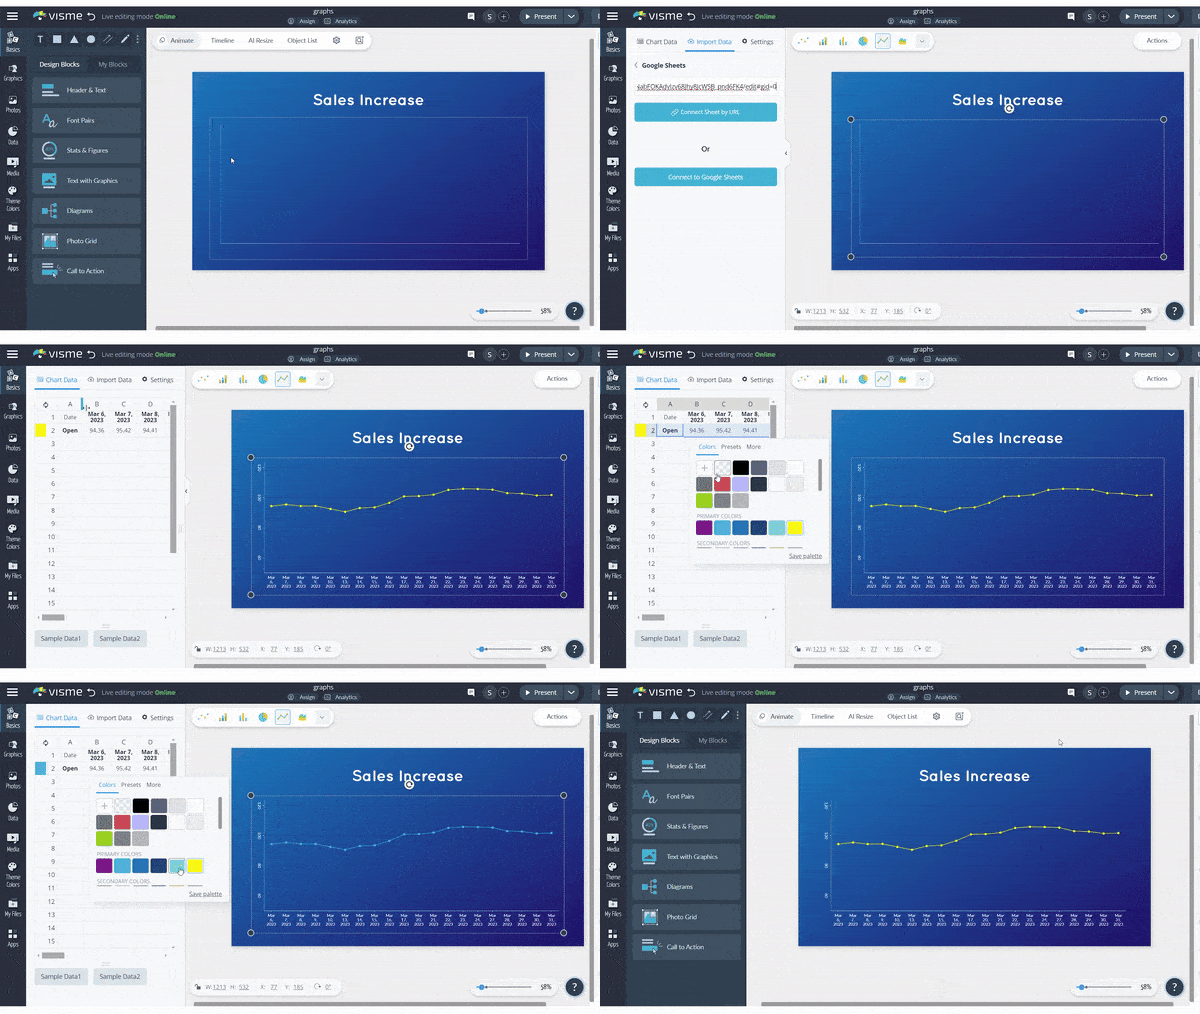
- Efficiency: Importing data from various sources speeds up visualization creation. It saves time by eliminating manual data entry and lets users focus more on analysis.
- Accuracy: Human error is common in manual transfers. Whereas direct imports ensure data accuracy and integrity.
- Real-time Updates: Links to data sources, such as Google Analytics, provide up-to-date and real-time insights without manual updates.
- Collaboration: Through sharing data platforms, team working is effortless, as changes in source data instantly update visualizations.
- Scalability: Users can craft detailed visualizations thanks to efficiently managing large or complex datasets.
- Customization: Charts or graphs’ looks are customizable to match brand preferences after importing them.
How to set up a branding kit in Visme
Once you have a brand kit in your account, you can create an eye-catching design in minutes. Now, you’ll learn how to set up your brand identity kit in Visme.
- Access your dashboard and click on the “My Brand” button on the left sidebar.
- Click on “Brand Wizard” in the top-right corner of your Brand Area.
- Write your business website URL to extract your Brand Assets. And click on “Go”. Plus, it’s possible to add your brand assets manually.
- Then, select which Logo you want and click on the “Next” button. You can also upload a logo by simply clicking on “Upload your own logo”.
- Now, select the Font(s) by clicking on the “Add to Visme” button. Click on the “Next” button. Plus, it’s possible to upload a font. Just click on the “Don’t see your font here, upload it” button.
- Next one is setting up your Brand’s Color Palette. Select the right Color(s) by clicking on the “Add to Visme” button and click “Next” button. You can choose one or more of them. To move forward, click on the “Next” button. If some color is missing, you can add it by clicking on the “Some missing color? Add it”.
- Lastly, choose the design style that matches your brand persona.
That’s it.
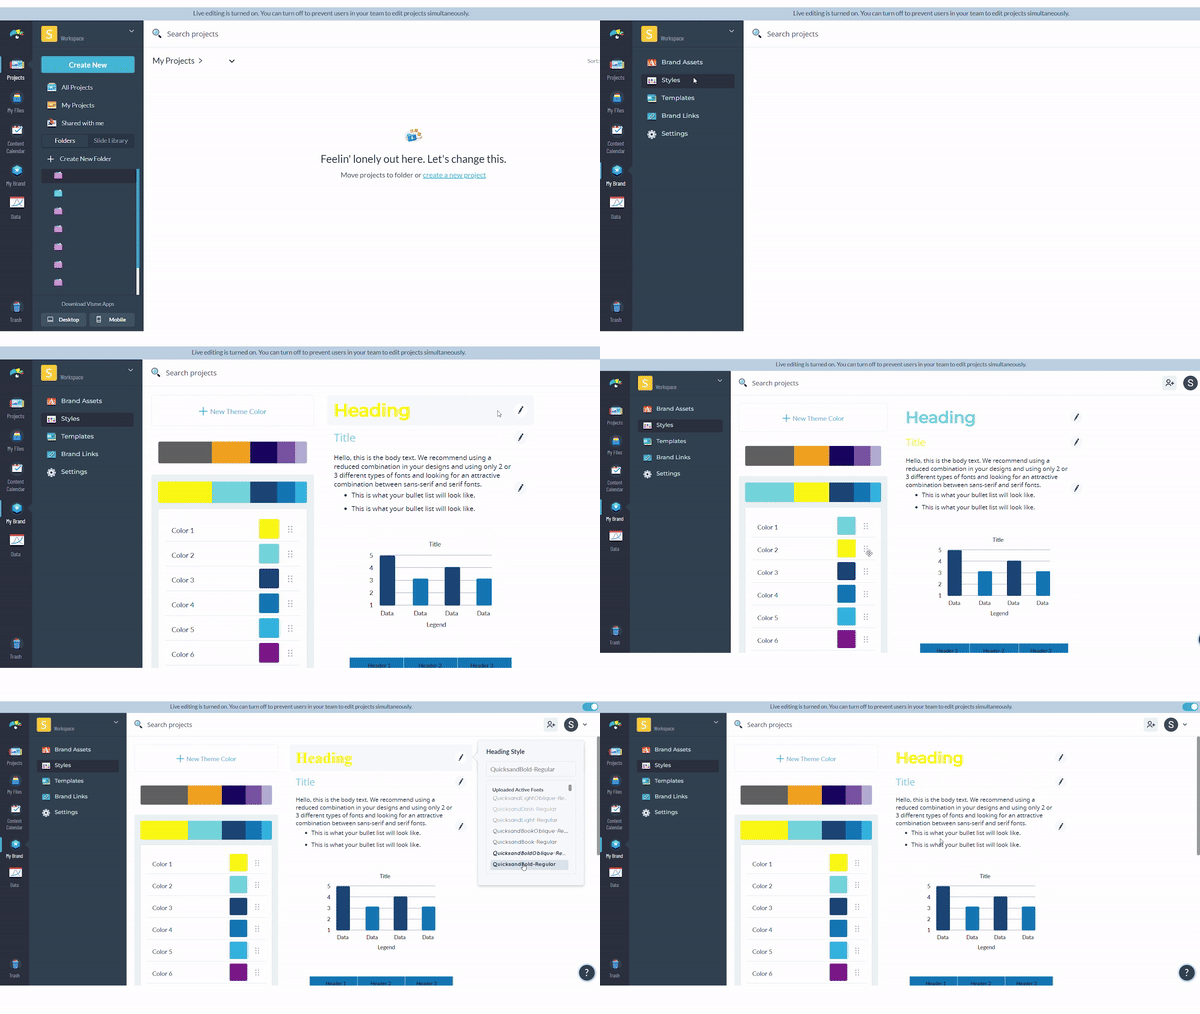
To assign those colors to all prepared documents: From “My Brand”, select “Styles”. You can add your brand colors by clicking on “New Theme Color”, and you can also adjust how you would like them to be used for headings, titles or any other necessary elements by simply dragging them in order. You can also select brand fonts with the “edit icon” on the right side of text styles.

How PEMAVOR uses Visme in their business
Visme standardizes your design voice, so you’ll never worry about branding to match 100% all the time. Besides, its easy-to-use interface and clear guides make it an efficient tool, even for non-designers. With pricing plans for every budget, including a free option, it suits any business.
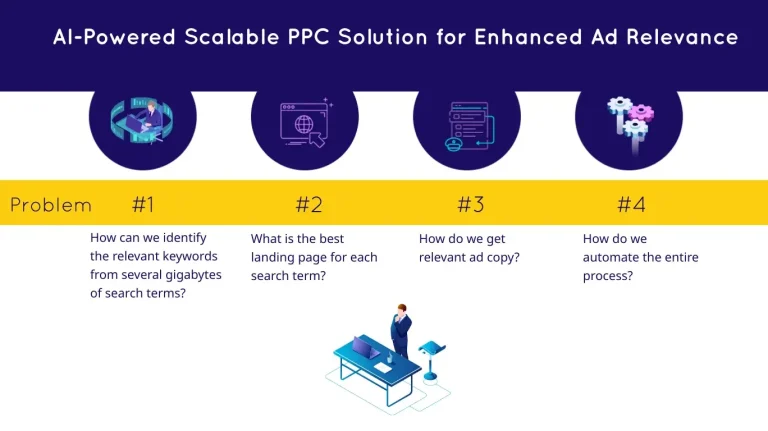
As PEMAVOR, we create many types of images, but we use it mainly for presentations, one-page explanations or infographics. Branding elements in one place makes our design process super faster and easier with a consistent brand identity.
Conclusion
In wrapping up, Visme stands out as a pivotal tool for brands aiming to tell their stories with clarity and visual appeal. Let’s upload the whole brand kit guidelines into it. Then get started creating consistent and cohesive designs.


